Installation of Fusion 360 Add-ins
There are 3 possible locations for adding depending on which version you are using:
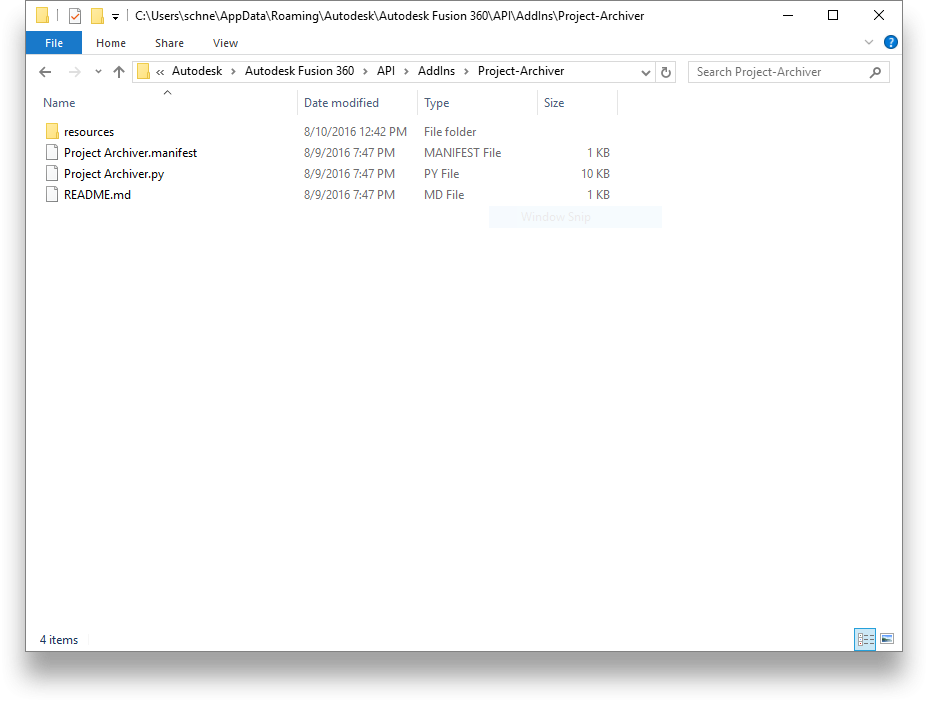
Windows
1. First follow the instructions given for your particular add-in or script to download the zip file.
2. Un-Zip to any convient location.
3. Rename the top level folder to match the name of the addin. (For example remove the “-master” from the folder name)
4. Copy the folder to: %AppData%\Autodesk\Autodesk Fusion 360\API\AddIns
(This is usually: C:\Users\userName\AppData\Autodesk\Autodesk Fusion 360\API\AddIns
5. You should then see:
(Note in this case we are showing an Add-in named Project-Archiver)
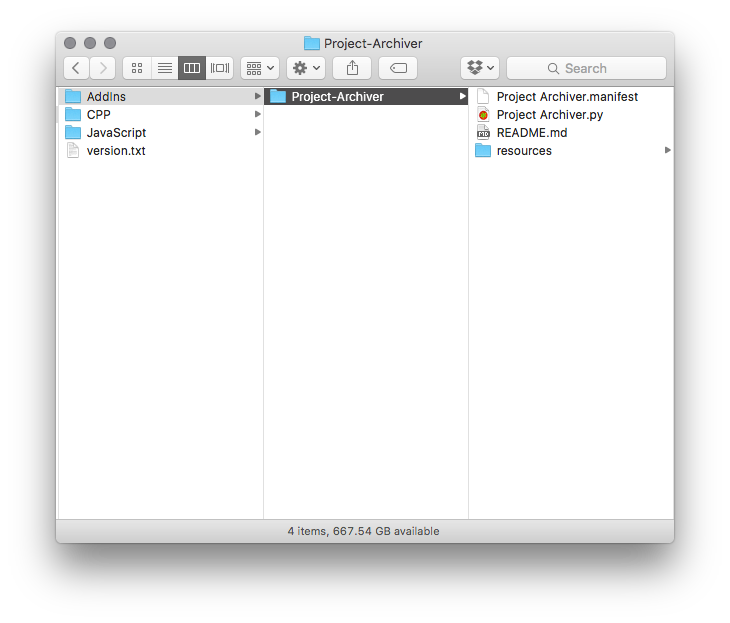
Mac OS X (Fusion 360 downloaded from Autodesk Website)
1. First follow the instructions given for your particular add-in or script to download the zip file.
2. Un-Zip to any convient location.
3. Rename the top level folder to match the name of the addin. (For example remove the “-master” from the folder name)
4. Copy the data to: ~/Library/Application Support/Autodesk/Autodesk Fusion 360/API/AddIns
(You may have to turn on visibility of the Library folders in OS X click here here for reference)
5. You should then see:
(Note in this case we are showing an Add-in named Project-Archiver)
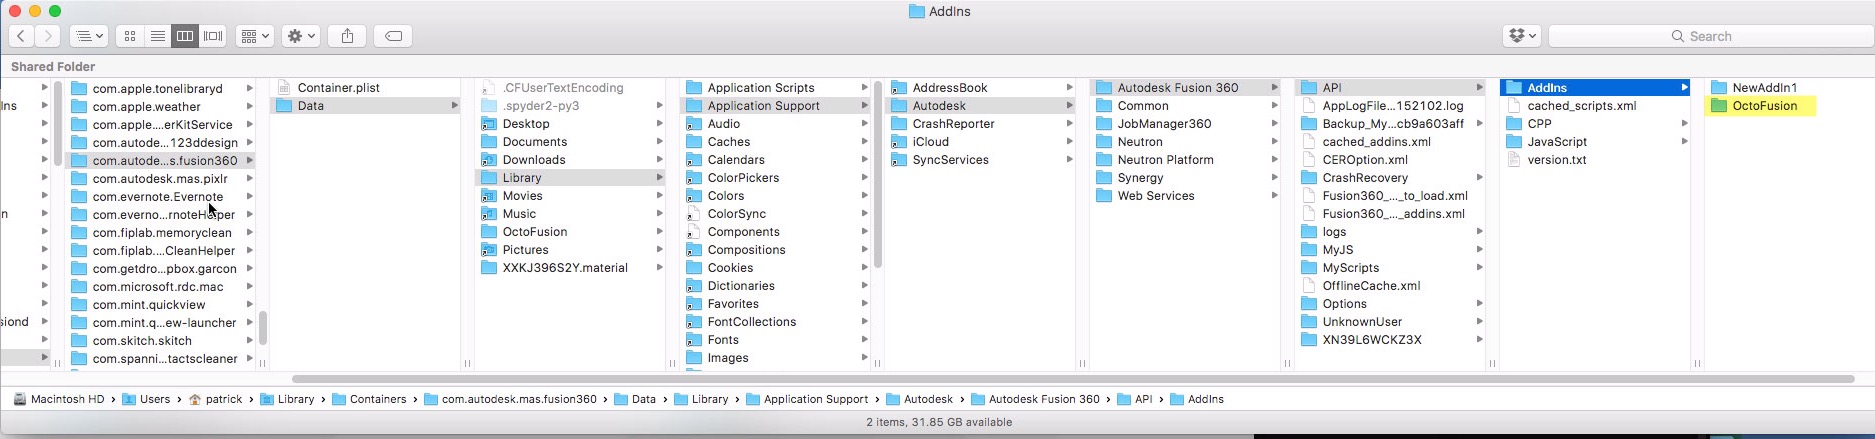
Mac OS X (Fusion 360 downloaded from Mac App Store)
1. First follow the instructions given for your particular add-in or script to download the zip file.
2. Un-Zip to any convient location.
3. Rename the top level folder to match the name of the addin. (For example remove the “-master” from the folder name)
4. Copy the data to:
~/Library/Containers/com.autodesk.mas.fusion360/Data/Library/Application Support/Autodesk/Autodesk Fusion 360/API/AddIns
(You may have to turn on visibility of the Library folders in OS X click here here for reference)
5. You should then see:
(Note in this case we are showing an Add-in named OctoFusion)
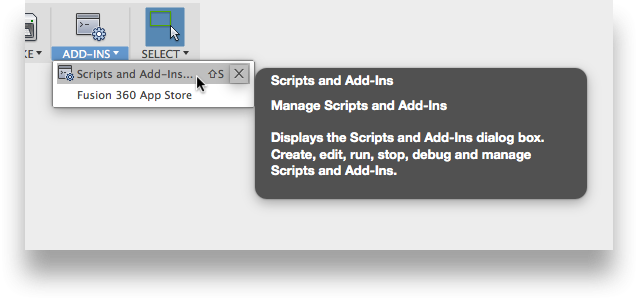
Starting the Add-in inside Fusion 360
1. Launch Fusion 360.
2. On the main toolbar click the Scripts and Addins button in the Addins Pane
3. Select the Addins tab and find the Add-in you just downloaded
4. Click Run at startup
5. Click run
6. Dismiss the Addins dialog.
7. The new add-in button should be added to the proper location per the individual documentation